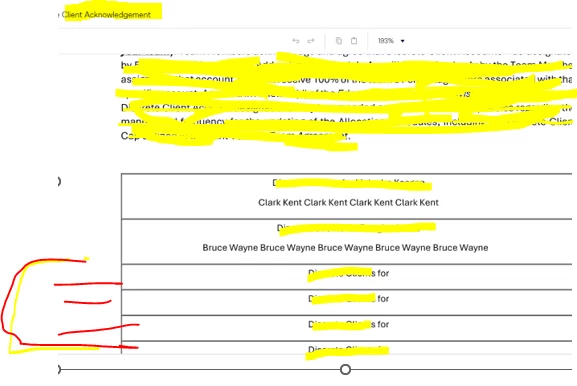
We are designing a new template that includes a document that may require entry for up to 6 fields. We would like to have the document not populate the red blank unfilled fields at signing if no data is entered. Is there a way to automatically eliminate the lines that appear in the red section below if the user does not add data?
Best answer by Ma.Cubio
Hi @EDJSTL Thanks for reaching out, and a warm welcome to the Docusign Community! Yes, it is possible using Conditional fields. The recipient only sees the conditional fields if they complete the trigger field, as defined in the rule logic.
Start an envelope as usual, adding files, recipients, and messages.
In the Add Fields view, add all the fields to your documents, including those that will be conditionally displayed.
Select the field on your document (checkbox, radio button, drop down, or text) that will act as the trigger field to determine if additional fields are presented to the recipient.
In the properties panel, expand the Conditional Fields section and click Create Rule.
In the rule banner at the top of the page, define the logic for your rule. In the box for your trigger field value, depending on the field type, you can set the following:
Checkbox: checked or unchecked
Radio button: select the button value
Dropdown: select the dropdown option
Text: enter the specific text for the field value (case-sensitive), or select the gear icon and choose Any Text
Select the fields you want to show to the recipient when they trigger the rule.You can select as many fields as you like, of any type, as long as they are assigned to the same recipient as the trigger field. Selected fields are marked with a diagonal watermark to indicate they are conditional:
Click Done.
Your conditional fields are defined. The recipient only sees the conditional fields if they complete the trigger field, as defined in the rule logic.
(Optional) Review and edit conditional fields by selecting the trigger field.The properties panel slides open and the Conditional Fields section shows how your trigger field is set up.
The trigger field has a blue border and selected conditional fields appear with a diagonal watermark for identification.
Edit - Modify the fields selected to show for the conditional rule.
Delete - Remove the conditional relationship between the trigger field and the fields set to show.
Finish defining your conditional fields and send the documents for signature. Recipients only see the conditional fields if they complete the trigger field as defined in the rule logic.
Note: To learn more about conditional fields and best practices, see Building Advanced Templates: Become a NIGO Ninja Series Part II in the Docusign University. You will be prompted to log in using your Docusign email and password to access this content.
Ma. Cassandra | Docusign Community Moderator If this helped, feel free to mark it as "Best Answer" so others can find it too!
How are you? I'm checking in to see if you still need assistance. If yes, kindly reply here with more context or confirm if the issue has been resolved.
If you run into any problems, we're happy to help with those here. Wishing you a smooth rest of your day!
Ma. Cassandra | Docusign Community Moderator Mark as “Best Answer” if this helped clarify things.
You can login or register as either a Docusign customer or developer. If you don’t already have a Docusign customer or developer account, you can create one for free when registering.
You can login or register as either a Docusign customer or developer. If you don’t already have a Docusign customer or developer account, you can create one for free when registering.
 Back to Docusign.com